


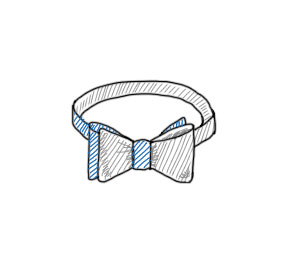
The bow tie: a must for any tuxedo, but it can spice up any formal outfit. Unfortunately, the bow tie is a bit of a beast to tame. Worry not! Read through our guide and watch our video to find out how to tie a bow tie and get that classic look.
Diagram Images Courtesy of magazine.brooksbrothers.com
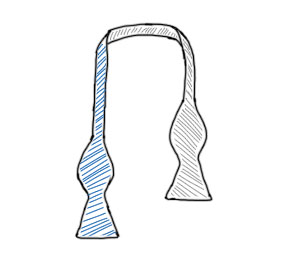
Step 1: Once your bow tie is properly sized (if adjustable), hang it around you neck with one side just longer than the other.

2: Wrap the longer side over and around the shorter end, making an overhand knot.
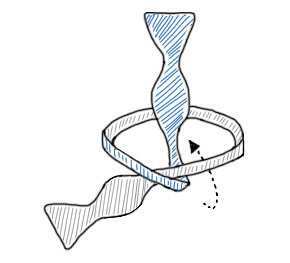

Step 3: Throw the longer end over your shoulder; you can forget about it for a moment. Take the shorter end and fold it over to make the bow tie shape.
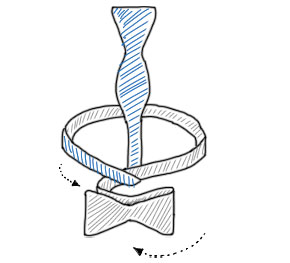

4: Bring the longer end over the front of the bow tie shape.
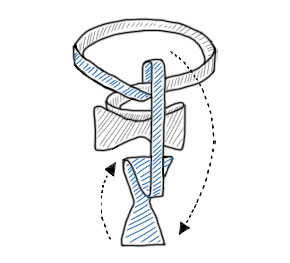

Step 5: Here’s the really tricky one; watch our video a few times to see how it’s done. Fold the end in front into a bowtie shape just like you did with the other end, then push it through the hole (but not all the way) created behind the tie in the previous steps.
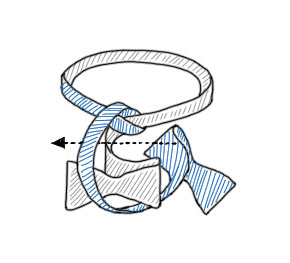

6: You should have the general bow tie shape now! Pull the back end through the hole only until its even with the front end, then adjust it so it’s completely even with the front tie shape.
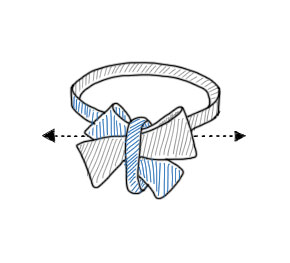
Step 7: Adjust the tie using both the front and back pieces on both sides. This is tricky, and may also take a few tries before you get it. Don’t give up! Once you feel it’s even and the center looks good, you’re done and ready to hit the streets in style!

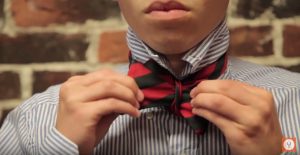
Check out our full video here for a better look!
